Expansion Bolt Installation Guide: Correct Drilling, Setting, and Tightening Methods
Expansion bolts are widely used in concrete structures, steel installation, equipment fixing, and construction. Correct drill hole diameter, depth, hole cleaning, and tightening torque directly affect anchoring performance. This article introduces the basic installation steps and common precautions for expansion bolts.
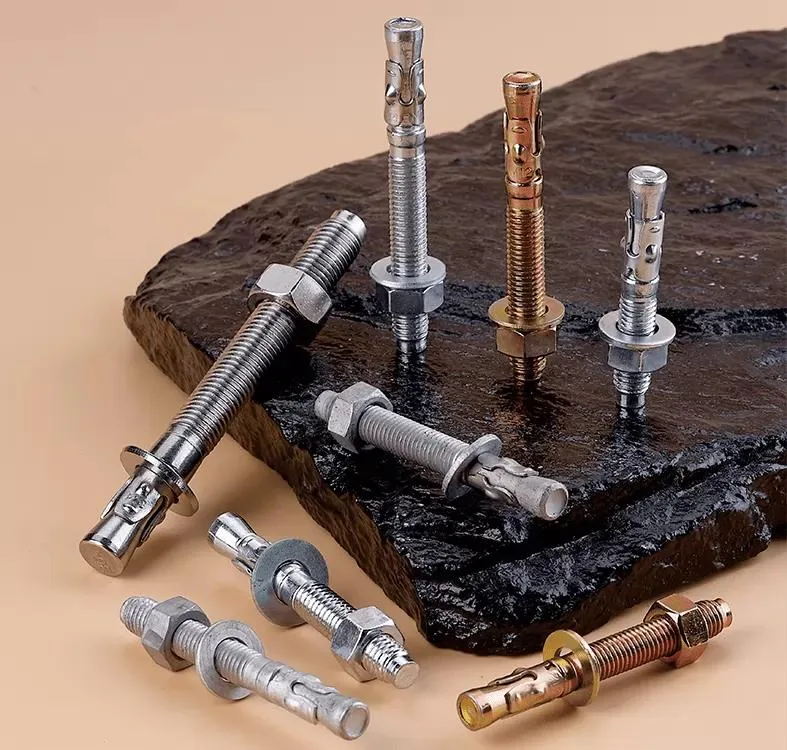
How should expansion bolts be correctly installed?
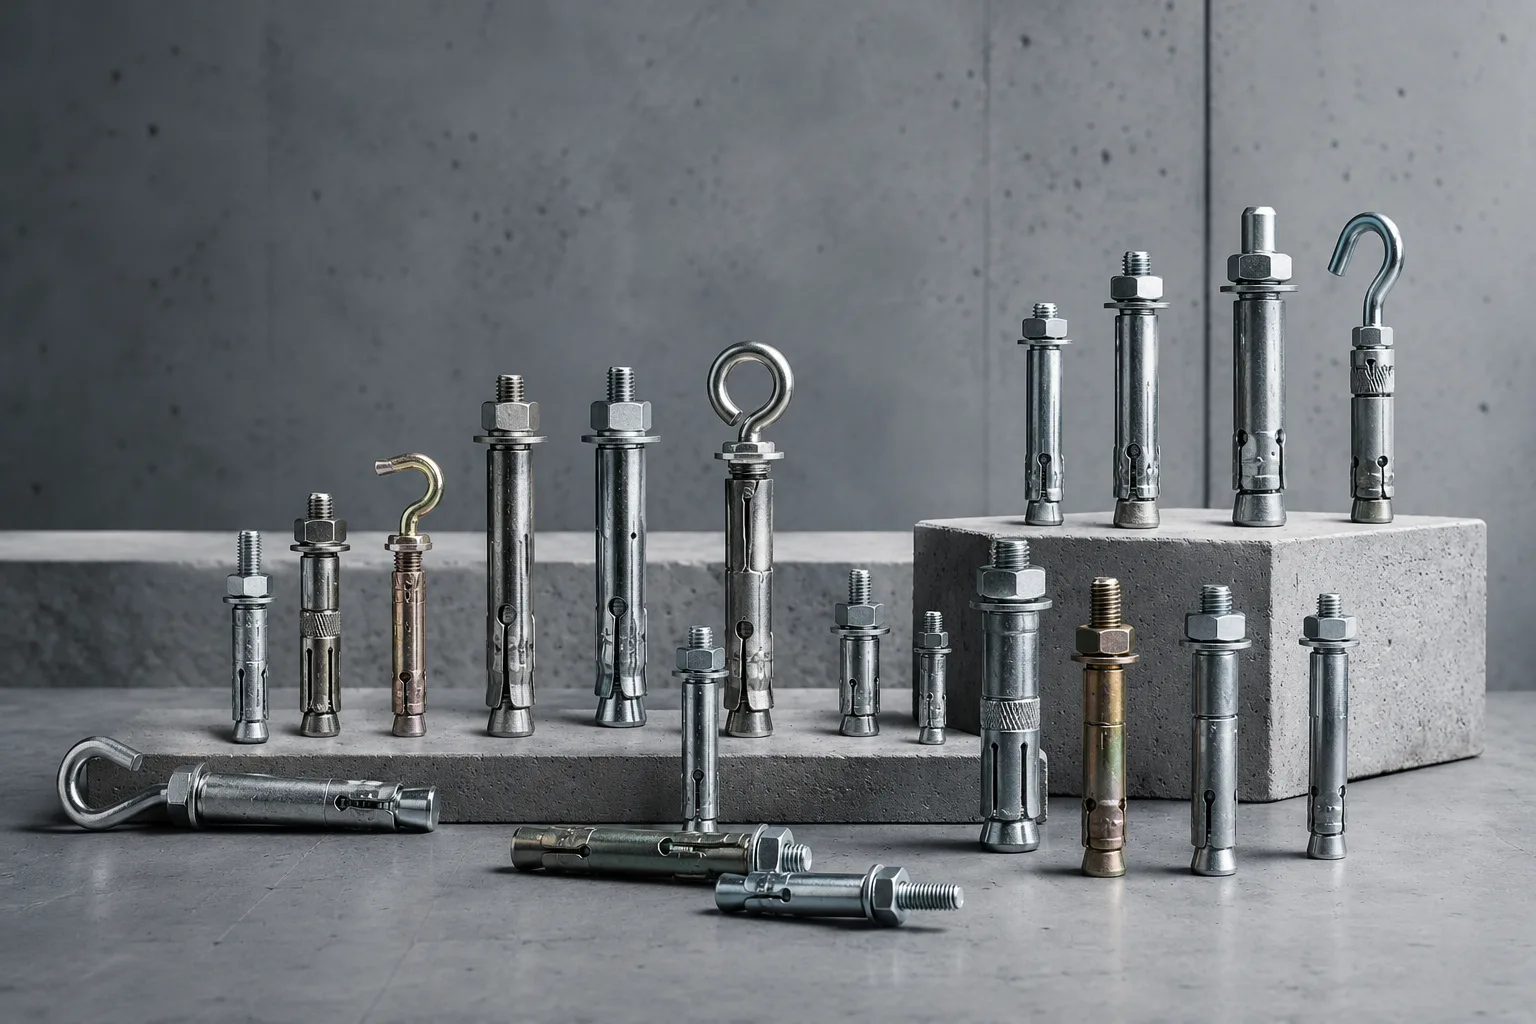
Expansion bolts rely on mechanical interlocking between the expansion sleeve, wedge, or expansion clip and the base material to form a reliable anchorage connection.
Although different types of expansion anchors have different structures, the basic installation process typically includes:
1. Confirm specifications and installation position
Before installation, confirm the diameter, length, embedment depth, and base material type of the expansion bolt.
For concrete installation, also pay attention to maintaining reasonable distances from the hole position to the edge of the member and to other anchors.
2. Drill the hole to the specified diameter
Use a drill bit that matches the anchor specifications, and try to keep the hole perpendicular.
If the hole diameter is too large, the grip between the expansion part and the hole wall may be reduced; if too small, the anchor may not be installed properly.
The specific hole diameter and depth should be determined according to the corresponding product specifications or technical requirements.
3. Clean dust from the hole
After drilling, remove dust and debris from the hole.
Common method:
Blow out → Brush → Blow out again
Excessive dust left in the hole can affect the contact between the anchor and the concrete hole wall.
4. Insert the expansion bolt
Insert the anchor into the hole, and if necessary, gently tap it to the specified depth using a hammer.
For anchors with exposed threads, before tapping, you can screw the nut close to the end of the bolt to reduce the risk of thread damage from direct impact.
5. Tighten to the specified torque
Use a wrench or torque wrench to tighten the nut.
During tightening, the expansion sleeve or wedge structure gradually opens and forms an anchorage with the hole wall.
Note:
Tighter is not always better.
Too little torque may result in insufficient anchorage, while too much torque can cause thread damage, anchor deformation, or local damage to the base material.
Therefore, construction should follow the installation torque specified for the corresponding size.
Common installation errors
Common issues during expansion bolt use include:
- Incorrect drill hole diameter
- Insufficient hole depth
- Dust not cleaned from the hole
- Anchor not set to the specified embedment depth
- Over-tightening with impact tools
- Installation too close to the edge of the concrete
- Use in unsuitable hollow brick or low-strength base materials
- Anchor size not matching the actual load
These issues can reduce the final anchoring performance.
Different expansion anchors have different installation methods
For example:
Wedge Anchor
Tightening the nut drives the conical structure, causing the expansion clips to open and grip the hole wall.
Sleeve Anchor
After tightening, the sleeve expands under the internal cone, creating a mechanical fixation with the base material.
Therefore, in actual construction, the correct installation method should be determined based on the anchor structure, size, base material, and load requirements.
Post-installation inspection
After installation, it is recommended to check:
Whether the anchor has reached the specified embedment depth
Whether the nut is properly tightened
Whether the anchor is loose or tilted
Whether there are abnormal cracks around the concrete
Whether the exposed threads are intact
For important engineering connections, acceptance should also be carried out according to project design and relevant technical requirements.